

One Easter, when my twin girls, Lily and Mia, were just toddlers, their excitement for the egg hunt was contagious. But even more than finding the eggs, they were mesmerized by the treats! Tiny hands pressed against the oven door, eyes sparkling with anticipation as the cookies baked. Their giggles filled the kitchen, turning a simple moment into a cherished memory—a beautiful reminder of the joy in family traditions.
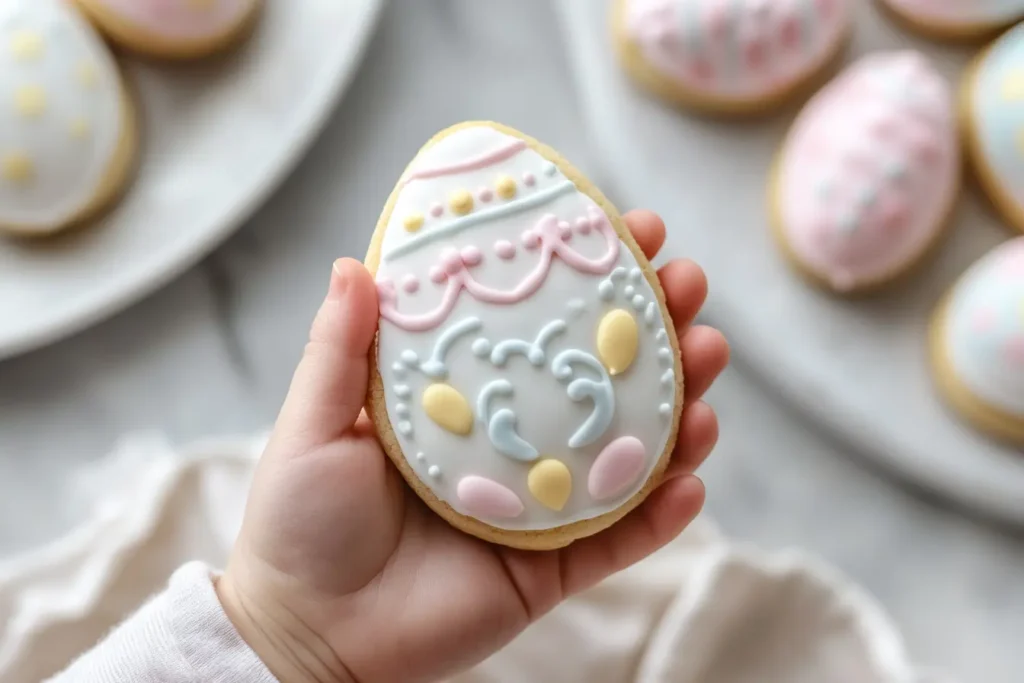
That year, I decided to bake a batch of colorful Easter cookies. Icing bunnies, chicks, and eggs brought so much joy to the table. It instantly became a cherished family tradition, one we’ve continued over the years. Now, they’re teenagers and still eager to help with the decorating, although their designs have become significantly more sophisticated!
This Easter cookies recipe is a delightful way to celebrate spring and get creative in the kitchen. Whether you have little ones or just enjoy festive baking, these cookies are perfect for sharing with loved ones. From simple sprinkles to elaborate piping, there’s a decorating style for everyone. Get ready for a fun and delicious baking experience!
Ingredients for the Easter Cookies
Before we begin, let’s gather our ingredients. I always tell Lily and Mia, “Mise en place!” It’s a fancy cooking term for having everything prepped and ready to go. It makes the whole process so much smoother.
Dry Ingredients
- All-Purpose Flour (2 ½ cups): This is our base. It gives the cookies structure. I sometimes use cake flour for a softer cookie, but all-purpose works great. I usually buy unbleached flour, but either works fine.
- Granulated Sugar (1 cup): This sweetens the cookies and helps them brown. Regular white sugar is perfect here.
- Baking Powder (1 teaspoon): This makes the cookies rise and gives them a light texture. Make sure it’s fresh for the best results! An expired baking powder will result in flat cookies – a sad sight indeed!
- Baking Soda (½ teaspoon): This also helps with rising, especially since we’re using brown sugar. Baking soda and baking powder work together to create the perfect lift.
- Salt (½ teaspoon): A pinch of salt balances the sweetness and enhances the other flavors. Don’t skip this! It makes a surprising difference.
Wet Ingredients
- Unsalted Butter (1 cup): Use room temperature butter so it creams easily with the sugar. This creates a light and fluffy cookie. I prefer unsalted butter because it allows me to control the amount of salt in the recipe.
- Brown Sugar (¾ cup): This adds a rich molasses flavor and keeps the cookies soft and chewy. Packed light brown sugar is my go-to for this recipe.
- Eggs (2 large): Room temperature eggs mix better and add richness and structure. Take them out of the fridge about an hour before you start baking.
- Vanilla Extract (1 teaspoon): Pure vanilla extract adds a wonderful aroma and flavor. Imitation vanilla just doesn’t compare.
- Milk (2 tablespoons): A little milk helps bring the dough together and adds moisture. Any kind of milk works – whole milk, 2%, even skim.

Step-by-Step Instructions to make your Easter Cookies
Preparing the Dough
This is where the real fun begins! I love the feeling of transforming simple ingredients into something delicious.
First, I cream together the room-temperature butter and both sugars. I use my stand mixer, but a hand mixer works too. Cream them until the mixture is light and fluffy. This takes about 2-3 minutes. You’ll know it’s ready when the mixture is pale and almost doubled in volume.
Next, I beat in the eggs one at a time, followed by the vanilla extract. Make sure each egg is fully incorporated before adding the next. This helps create a smooth and even dough.
In a separate bowl, I whisk together the flour, baking powder, baking soda, and salt. This ensures the leavening agents are evenly distributed, which is key for a nice, even rise.
I gradually add the dry ingredients to the wet ingredients, mixing on low speed until just combined. Be careful not to overmix! Overmixing can make the cookies tough. Nobody wants a tough cookie!
Chilling and Shaping the Dough
This step requires a bit of patience, but it’s worth it!
I divide the dough in half, flatten each half into a disk, wrap them in plastic wrap, and chill for at least 2 hours. Chilling prevents the cookies from spreading too much during baking. You can even chill the dough overnight if you want to get a head start.
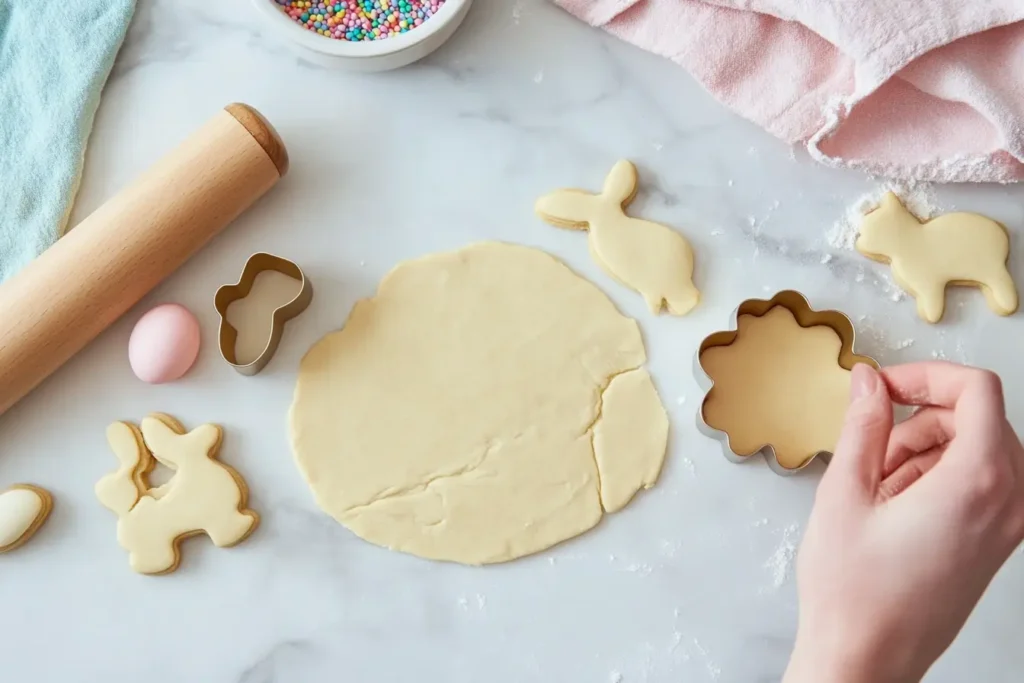
Once chilled, I preheat the oven to 375°F (190°C). On a lightly floured surface, I roll out one disk of dough at a time to about ¼ inch thickness. If the dough is too sticky, add a little more flour to your work surface.
Now comes the fun part! Use Easter-themed cookie cutters to cut out shapes. Bunnies, eggs, chicks – the possibilities are endless! If you don’t have cookie cutters, you can use a knife to cut out squares, circles, or even freehand shapes like bunnies or eggs. Get creative! Lily and Mia love inventing their own shapes. One year, we had a whole menagerie of oddly shaped Easter creatures!
Baking the Easter Cookies
The anticipation builds as the delicious aroma starts to fill the kitchen.
I place the cookies on a baking sheet lined with parchment paper. Make sure to leave a little space between each cookie so they don’t stick together.
I bake for 8-10 minutes, or until the edges are lightly golden. Keep a close eye on them, as ovens can vary. You’ll know they’re done when they’re firm to the touch.
Cooling and Decorating
Almost there! But patience is still key.
Once baked, I let the cookies cool on the baking sheet for a few minutes before transferring them to a wire rack to cool completely. Cooling is crucial before decorating, as the icing will melt on warm cookies. This is a good time to clean up your workspace and gather your decorating supplies.
Decorating Ideas for your Easter Cookies
This is where you can really let your creativity shine! Lily and Mia have become quite the experts over the years.
Royal Icing
I love using royal icing for decorating cookies. It hardens beautifully and creates a clean look. To make it, I combine 3 cups of powdered sugar, 3 tablespoons of meringue powder, and about 6 tablespoons of water. I beat it with my mixer until it forms stiff peaks. You’ll know it’s ready when you lift the beater and the icing stands straight up.
For thinner icing (for flooding), I add a tiny bit more water, a teaspoon at a time. For thicker icing (for outlining), I leave it as is. You can divide the icing into different bowls and add food coloring – gel food coloring works best for vibrant colors – to create a rainbow of possibilities! We usually have a whole spectrum of pastel shades for Easter.
Simple Easter Designs
For easy decorating, sprinkles are your best friend! Before the icing dries, generously sprinkle them over the cookies. There are so many fun sprinkle shapes and colors available for Easter – everything from pastel jimmies to tiny candy eggs.
You can also use edible markers to draw simple designs like polka dots, stripes, or even little faces on your bunnies and chicks. Edible markers are easy to use and come in a wide variety of colors.
For simple icing patterns, use a toothpick to swirl different colors together on the cookie. Or, dip half the cookie in one color and the other half in another. These simple techniques create a beautiful marbled effect.
Advanced Decorating Techniques
If you’re feeling adventurous, try using piping bags and different tips. A small round tip is great for outlining and details, while a larger star tip creates beautiful swirls and rosettes. You can find piping bags and tips at most craft stores.
You can create intricate patterns by piping different colors of icing next to each other and then swirling them together with a toothpick. This technique takes a bit of practice, but the results are stunning.
Edible paints and glitter add a touch of sparkle and magic. Use a small paintbrush to add details or create shimmering effects. Let your creativity run wild! Lily and Mia are always experimenting with new techniques and designs.
Enjoy a decadent slice of chocolate cherry cake or a refreshing Mediterranean cucumber salad.
FAQ
Over the years, I’ve gotten a lot of questions about Easter cookies. Here are a few of the most common ones:
What is Snoop Dogg cookies?
Snoop Dogg has his own line of cannabis-infused cookies called “Leafs By Snoop.” These aren’t for kids! They’re sold where cannabis products are legal. He also has other baked goods in his brand. I haven’t tried them myself, but I’ve heard they’re quite popular. Definitely not something I’d be making with Lily and Mia, though!
What is the secret ingredient to keep cookies soft?
Brown sugar! Unlike granulated sugar, brown sugar contains molasses. Molasses attracts and holds moisture, resulting in softer, chewier cookies. Honey or corn syrup can also help with moisture, but I find brown sugar works best. For extra soft cookies, I sometimes add a tablespoon of corn syrup along with the brown sugar.
How to make Easter cookies without cookie cutters?
No cookie cutters? No problem! You can use a butter knife to cut out simple shapes like squares, rectangles, or triangles. Get creative and freehand shapes like bunnies or eggs. You can even use the rim of a glass for circles or a small cup for ovals. One year, we used a shot glass to make tiny little Easter egg cookies – they were adorable!
What is a Nazareth cookie?
Nazareth cookies are a type of Pennsylvania Dutch sugar cookie, sometimes called spritz cookies. They’re often made with a cookie press and have a buttery, melt-in-your-mouth texture. They’re typically not decorated as elaborately as Easter cookies, focusing on flavor and texture more than appearance. They’re delicious, but they don’t quite have the same festive flair as decorated Easter cookies.
Tips and Variations
Baking these Easter cookies with Lily and Mia is always a highlight of our spring. They love helping measure ingredients and especially decorating. Even little ones can help with sprinkles! It’s a great way to create fun memories together. Over the years, we’ve developed our own little traditions, like playing Easter music while we bake and decorating our cookies to look like members of our family.
For a twist on the classic recipe, try adding different extracts like almond or lemon. Chocolate chips or white chocolate chunks are always a hit too. And don’t forget about the sprinkles! There are so many fun and festive options. We love experimenting with different color combinations and shapes.
If you have dietary restrictions, you can substitute gluten-free flour or use a vegan butter and egg replacement. The texture might be slightly different, but the cookies will still be delicious. I’ve experimented with gluten-free flour in the past, and while the texture is a bit different, the cookies are still quite good.
I often make the dough ahead of time and freeze it. This is a lifesaver during busy times. Just thaw the dough overnight in the refrigerator and you’re ready to bake! It’s like having a little bit of Easter magic tucked away for whenever you need it. Perfect for those last-minute Easter gatherings!
Baking this Easter cookies recipe has become a cherished tradition in our family. From the delightful aroma filling the kitchen to the joy of decorating together, it’s a special way to create lasting memories. Lily and Mia still talk about our Easter baking adventures, even now that they’re older. It’s a tradition I hope to continue for many years to come. I hope this Easter cookies recipe brings as much happiness to your home as it does to mine. Happy baking, and Happy Easter!
3 thoughts on “The best Easter Cookies recipe”