

My girls, Lily and Mia, adore Easter, and I always try to make it extra special for them. This year, I decided to whip up a fun and delicious Easter dirt cake. It’s a no-bake dessert, which is perfect for getting little hands involved in the kitchen.
The Easter dirt cake is a whimsical treat that always brings smiles. It’s a guaranteed crowd-pleaser for any Easter celebration. Plus, it’s super easy to make!
Making this cake reminds me of my childhood days, spending hours in the backyard creating mud pies. It’s a sweet trip down memory lane, and now I get to share that joy with my daughters.

Ingredients
For the “Dirt”
- 36 Oreo cookies (regular or gluten-free)
- 1/2 cup (1 stick) unsalted butter, melted
- 2 (3.9 ounce) packages instant chocolate pudding mix
- 3 cups cold milk
For a gluten-free version, I use gluten-free Oreos. You can also substitute other chocolate sandwich cookies. If you can’t find the 3.9-ounce size pudding mix, you can use two smaller boxes as long as the total weight is about 7.8 ounces.
For the “Worms”
- 1 (5-ounce) bag gummy worms
- Other Easter candies (optional, like mini chocolate eggs or bunnies)
I like to use the classic gummy worms, but feel free to get creative with other creepy crawlies!
For the “Grass”
- 1 cup crushed Oreo cookies (or green-tinted coconut flakes)
- Green food coloring (optional, for a more vibrant green)
- Edible Easter grass (optional)
You can easily make your own “grass” by crushing Oreos or use store-bought edible grass. Green-tinted coconut adds a nice, fluffy texture too!
Equipment
I find these tools handy when making Easter Dirt Cake:
- 9×13 inch baking dish or a 2.5-quart clear trifle bowl: A trifle bowl makes a beautiful presentation because you can see all the layers. But a 9×13 dish works great too!
- Food processor or large zip-top bag: This is for crushing the Oreos. A food processor makes it super quick, but a zip-top bag and a rolling pin work just as well.
- Large mixing bowl and whisk: I use these for the pudding. You could also use a stand mixer or hand mixer if you have one.
- Rubber spatula or spoon: For mixing and spreading the layers evenly.
- Measuring cups and spoons: Accurate measurements help ensure the dirt cake turns out perfectly!
Instructions
Preparing the “Dirt”
First, I crush the Oreo cookies. I like to use a food processor – it makes quick work of the cookies! If you don’t have one, place the cookies in a large zip-top bag and crush them with a rolling pin. Aim for fine crumbs, but a few larger chunks are okay for texture.
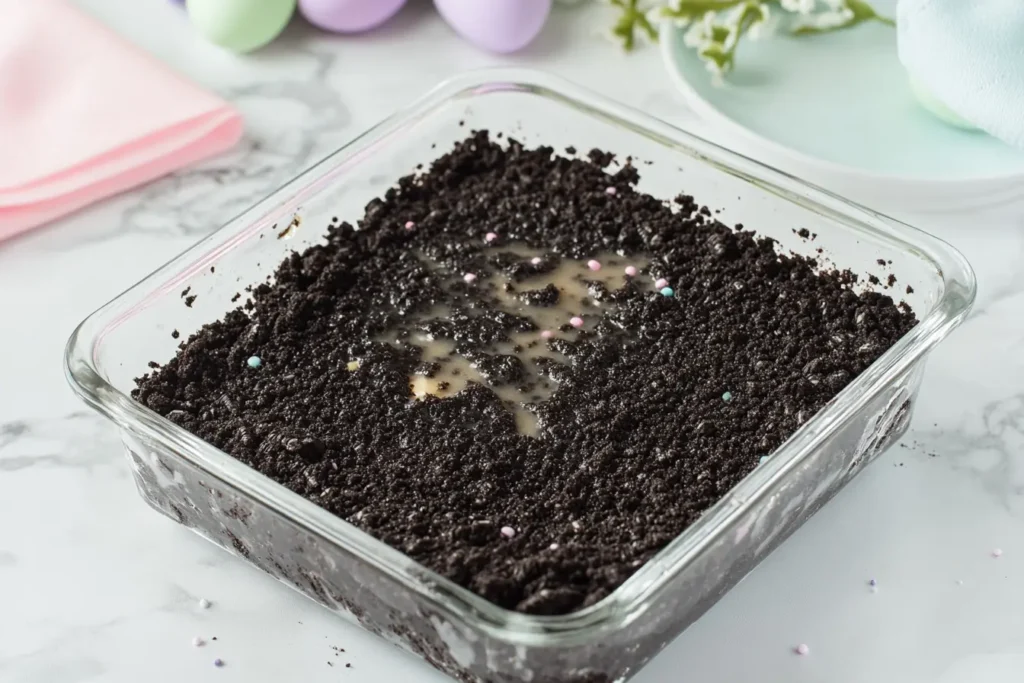
Next, I melt the butter. I usually do this in the microwave in short bursts, stirring in between, until it’s completely melted. Then, I pour the melted butter over the crushed Oreos and mix well. The mixture should resemble wet sand.
Now, I press this mixture into the bottom of my baking dish or trifle bowl. I use the bottom of a measuring cup or glass to create a firm, even layer. This “dirt” layer forms the foundation of our Easter dirt cake.

Making the Pudding Layer
I whisk together the chocolate pudding mix and cold milk in a large bowl. I whisk briskly for about two minutes, until the pudding starts to thicken. Don’t overmix! Overmixing can make the pudding tough. To avoid lumps, I make sure to whisk constantly, especially in the corners of the bowl.
Once the pudding thickens, I cover the bowl with plastic wrap and place it in the refrigerator to chill for at least 5 minutes. This allows the pudding to set up completely and create a nice, firm layer for our dirt cake.
Assembling the Easter Dirt Cake
Once the pudding is chilled, I spread it evenly over the Oreo crust. I like to use an offset spatula for this, but a regular spoon or rubber spatula works too. I make sure the pudding layer is smooth and even.
Now comes the fun part! I sprinkle the crushed Oreos (or green-tinted coconut) over the pudding to create the “grass.” I don’t cover the pudding completely, because I want some of the chocolate “dirt” to peek through. I usually leave a small border of pudding around the edges.
Finally, I add the gummy worms! I stick them into the “dirt” at different angles, some peeking out, some burrowed down. I also like to add other Easter candies, like mini chocolate eggs or bunnies. Get creative and have fun with it! This is where you can really personalize your Easter dirt cake.

Tips and Variations
Creating Different Easter Scenes
I love to personalize my Easter dirt cake! Sometimes, I add miniature chocolate eggs, bunnies, or carrots to create a little Easter scene. You can also use jellybeans or other small candies. When my girls were toddlers, they loved helping me press the candy eggs into the “dirt.” It’s a fun way to get the kids involved and make the cake even more festive. You can even create little fences with pretzel sticks! Let your imagination run wild.
Flavor Twists
Chocolate pudding is classic for dirt cake, but I sometimes switch it up! Vanilla pudding makes a lighter “dirt,” and butterscotch pudding adds a caramel-like flavor. You can also experiment with different cookies for the base. Chocolate wafers give a more intense chocolate flavor, and graham crackers offer a slightly sweeter, honey-like taste. I’ve even tried using crushed chocolate-covered pretzels for a salty-sweet twist!
Making it Ahead
You can easily prepare parts of this dessert in advance. I often make the Oreo crust and store it in an airtight container at room temperature for a day or two. The pudding layer can also be made ahead of time and kept in the refrigerator for up to three days. I recommend assembling the cake no more than a few hours before serving, especially if you’re using edible Easter grass, to prevent it from wilting. If I’m making it the day before, I add the gummy worms and other decorations just before serving so the cookies stay crunchy and the cake looks its best.
FAQ
What is in a dirt cake?
Dirt cake is a fun, no-bake dessert made with crushed cookies, pudding, and gummy worms. The crushed cookies create the “dirt,” the pudding acts as a creamy layer, and the gummy worms look like worms wriggling through the soil. It’s a simple yet delicious combination that’s perfect for kids and adults alike.
Why is dirt cake called dirt cake?
It’s called dirt cake because it looks like a plot of dirt! The crushed cookies resemble soil, and the gummy worms add to the illusion. It’s a whimsical and playful dessert that’s sure to bring a smile to everyone’s face.
Is dirt cake the same as mud pie?
Dirt cake and mud pie are similar in concept, but “mud pie” can mean different things. Some mud pies are made with ice cream, while others are similar to dirt cake with a cookie crust and pudding filling. Dirt cake usually refers to the specific combination of crushed cookies, pudding, and gummy worms.
What is Easter cake called?
“Easter cake” often describes a traditional sweet yeast bread, similar to hot cross buns. However, it can also be a general term for any dessert served at Easter. Some cultures have specific Easter cakes like Simnel cake, a fruitcake with marzipan, or Paska, a rich, decorated bread. So, “Easter cake” can mean different things depending on where you are!
Looking for other Easter treats? Try these Easter cookies or whip up some festive Easter egg fruit pizzas.
Serving and Storage
I like to serve my Easter dirt cake chilled. The cold pudding and crunchy cookies are a delightful combination! I usually cut it into squares, but you can also scoop it into individual bowls. It’s rich, so smaller portions are usually enough. When my family gets together at Easter, this dirt cake is always the first dessert to disappear!
Store any leftovers in an airtight container in the refrigerator. It stays fresh for about 2-3 days, but the cookies might soften a bit over time. Serving it cold from the refrigerator helps keep the flavors bright and the pudding firm.